© 1999-2015 by Peter Eastman
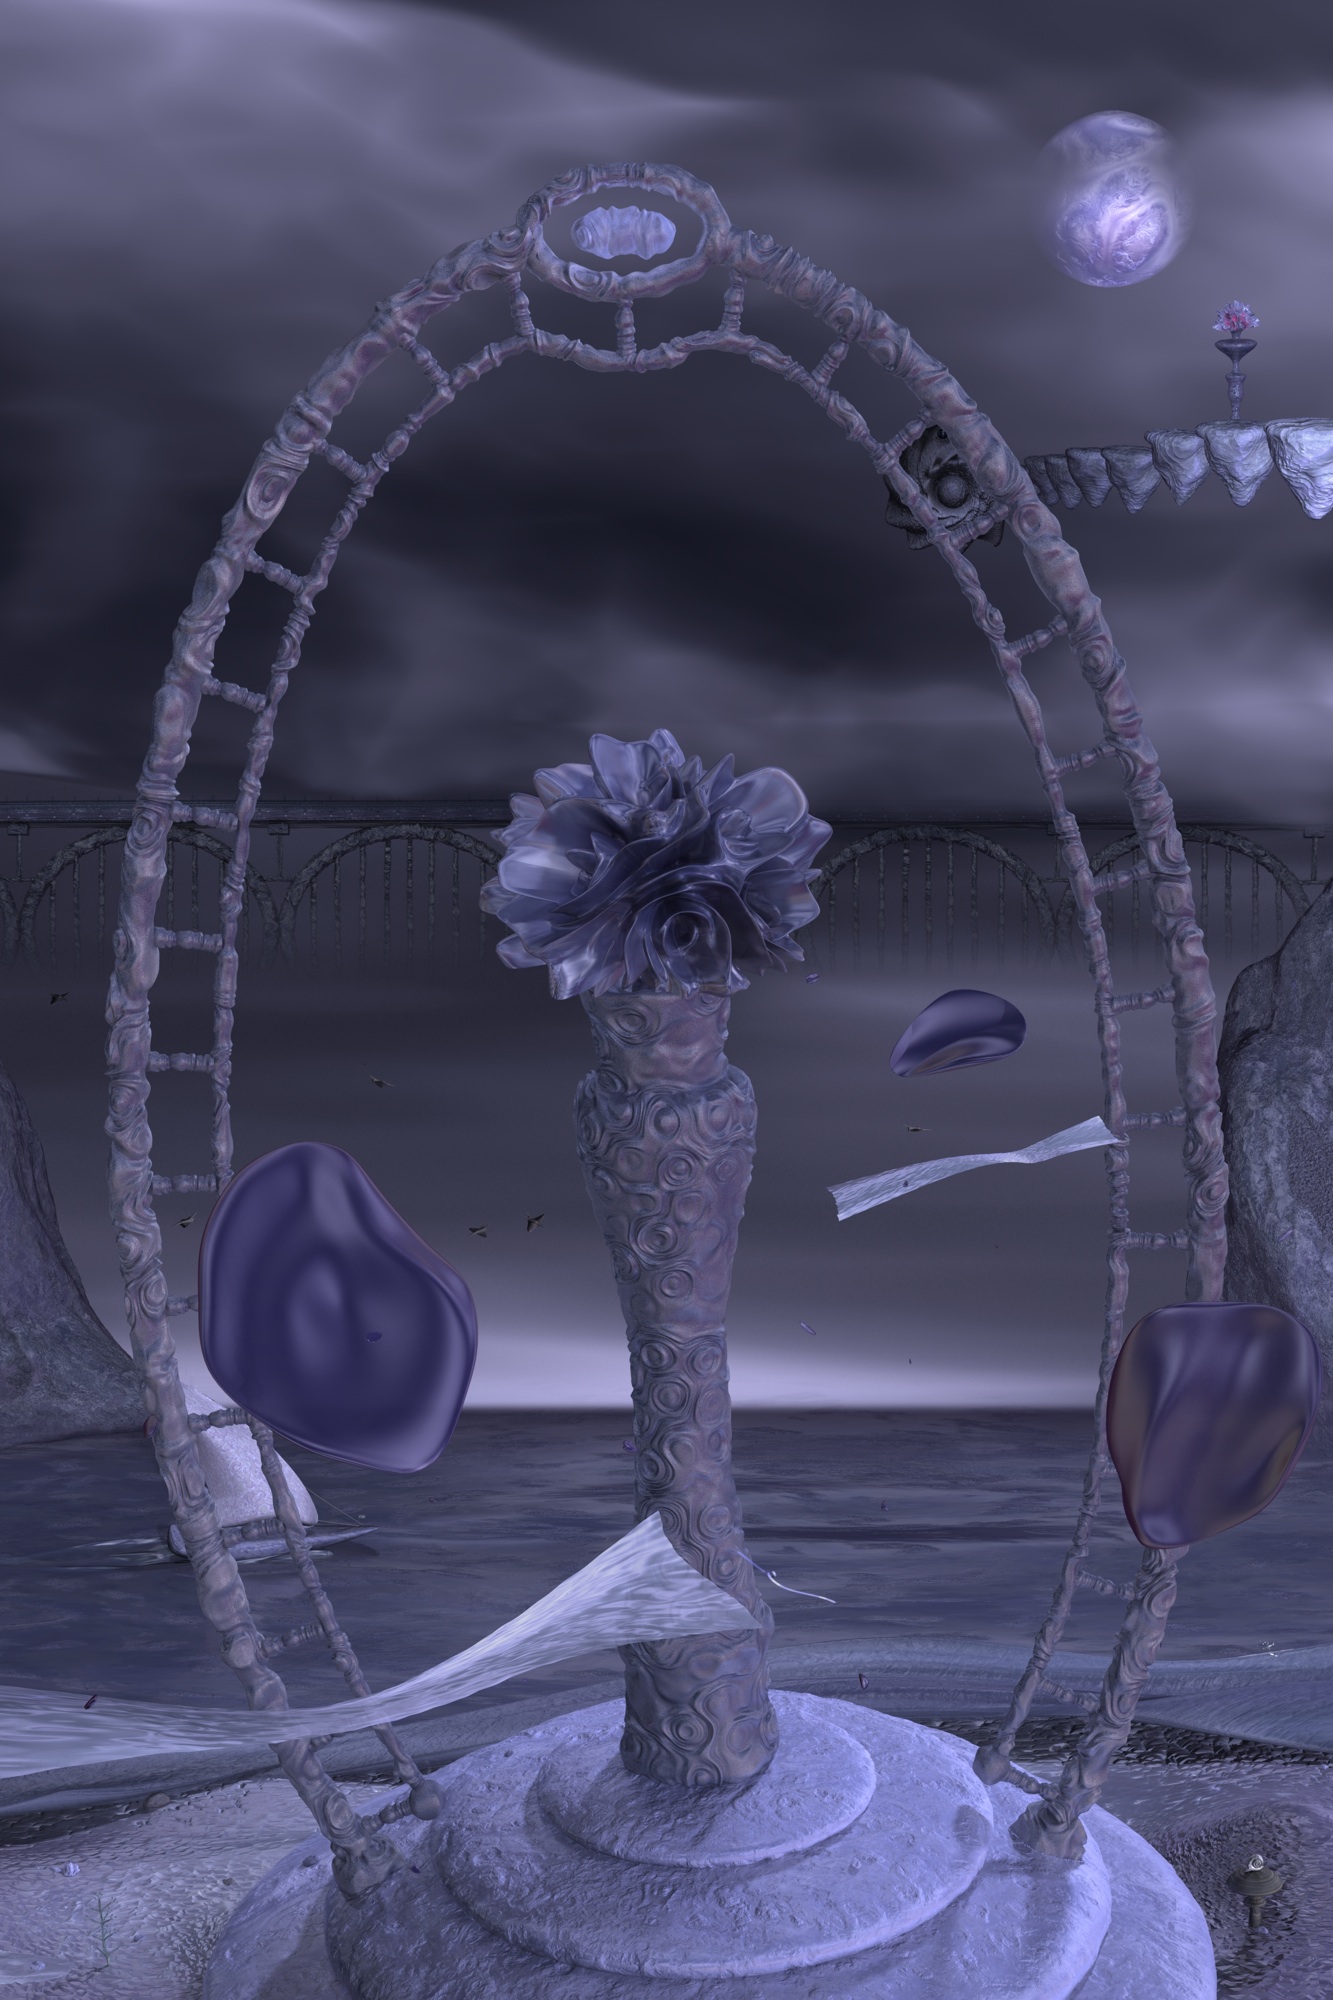
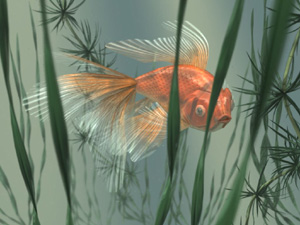
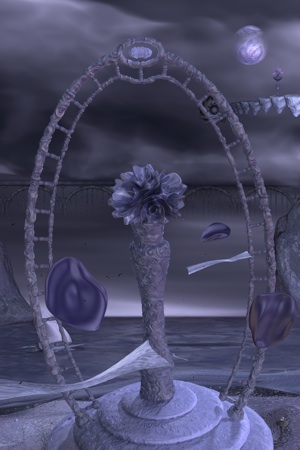
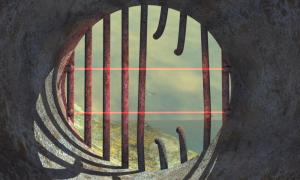
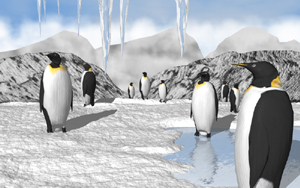
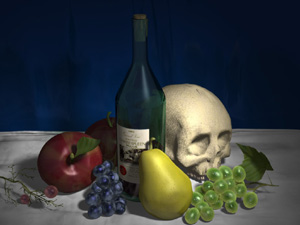
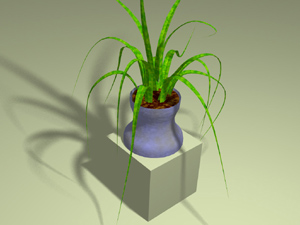
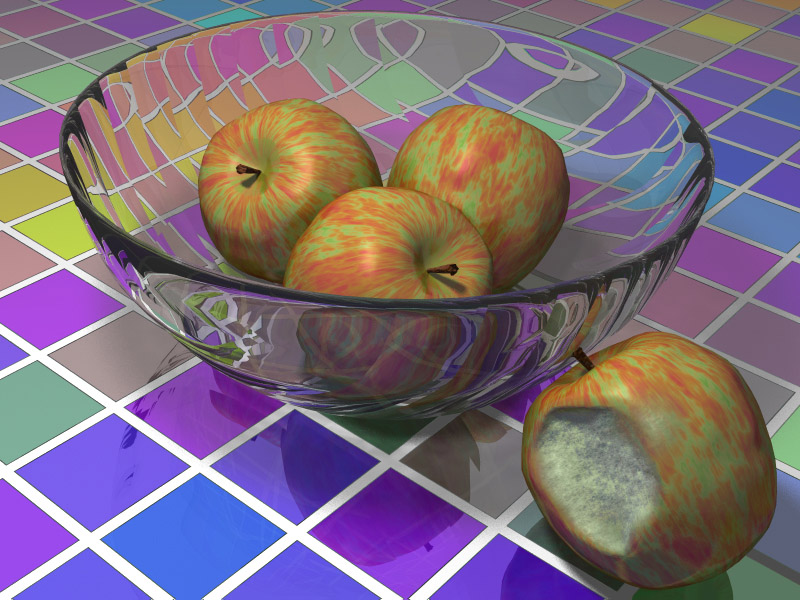
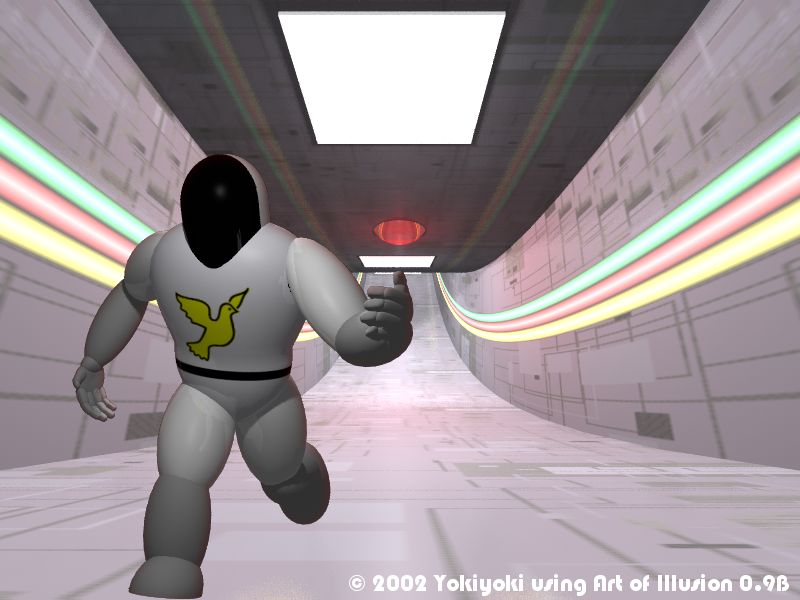
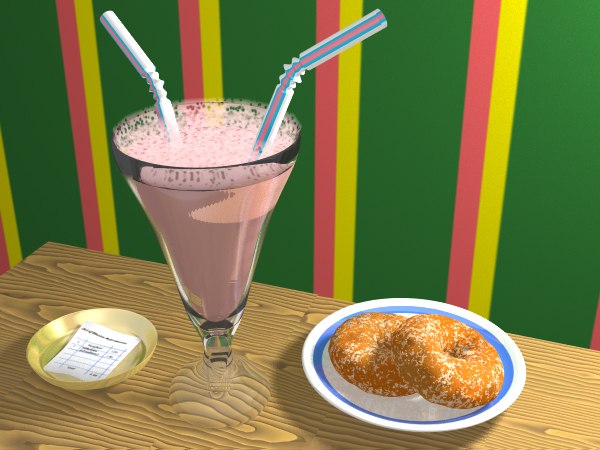
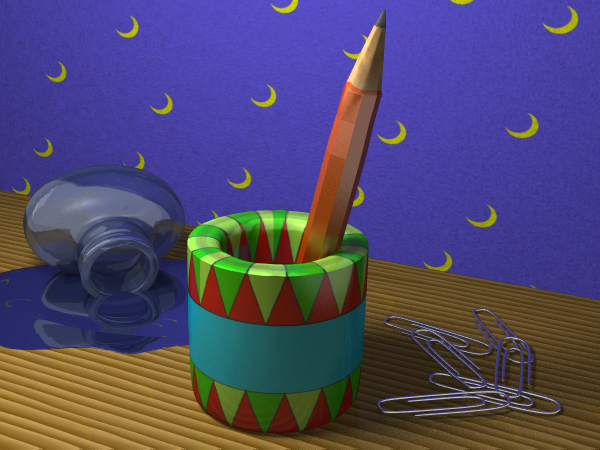
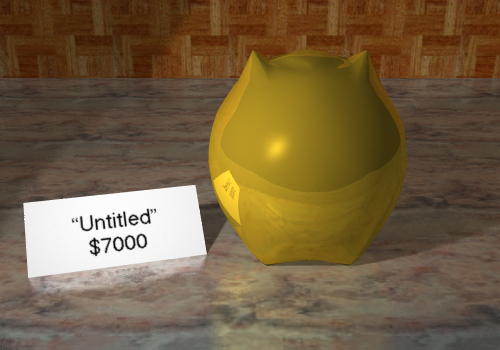
Here are some examples of artwork created with Art of Illusion. Click on the links to view a larger version.

Empress Nathan Ryan (email)
I used skinning to create the body and fins. Basically I created several cross-sections of the fish with the splining tool, and then skinned across them with the skinning tool. Same for the fins. The spines of the fins are a bump-mapped texture. The scales are actually a displaced texture. I straightened the scales and spines using UV mapping. I also used layer parameters on the textures to vary colors and height of displacement. A few subtle touches include the debris in the water which is just some transparent planes with specks on them, and the variable light from above which is done with a translucent textured plane between the light and the scene. The plants were created with XFrog from which AOI easily imports models.
Empress
View Full Size Download Scene

Frogspawn Julian MacDonald (email)
Inspired by M C Escher's 'Reptiles', this is meant to be an image of a painting 'spawning' frogs - while the artist disappears for a cup of coffee, the frogs come out and play! Too much here to go into depth about everything. The 'painting' itself I created from an AoI render of the frog (from the top with one ambient light to give a flat, simplistic image of the frog). This I then copied and pasted into the pattern in Paintshop Pro and made a texture from the resulting image and applied to a spline sheet. My favourite bits are the paintbox and jar on which I spent a reasonable amount of time rendering. The frog itself may look familar - it's a re-textured version of the blue poison arrow frog
Frogspawn
View Full Size Scene not available

Flower and Vase at Haven Timeastor Thelsar
Once, after many attempts to create a flower bud, I finally stumbled upon a shape that seemed nice. The next logical step was a vase. This launched a series of flower-and-vase scenes of which the presented here picture is the most complex one. I believe that this variation is the sixth or so. Speaking in terms of AoI scenes, there have been ten (not counting the minor ones) separate scenes or so. After rendering they were united in a raster image processing application. The flower bud is not a hand-made mesh but a tricky displacement installation. I still wish I could lift the bridge higher up; it would look prettier that way. But I was not skillful enough to do so. Well, let it remind me of my own imperfection. ;-) A small puzzle for you all: can you find the tiny little wisp of grass (not the plant in the lower left-hand corner) in the full-sized picture? It is not at all conspicuous.
Flower and Vase at Haven
View Full Size Scene not available

Cartografia Nathan Ryan (email)
I used a script to create the hairs on the feather. I used a lot of lathing in this scene too. I also used Peter's thicken script to give volume to several of the objects. The pattern on the copper part of the lamp was done with a black and white image as the source for transparency. To get the grainy effect, I used a point light where the flame is and turned on soft shadows. Then I simply rendered with a low number for the antialiasing. I was going for a dark cherry finish on the desk.
Cartografia
View Full Size Download Scene

Last Steps Marc Carson
I was playing around with the "Myst"-like island idea and came up with this scene. Then, after I completed an inital render, I realized that the whole thing was a sort of visual metaphor for the job I was about to quit. Just thought I'd mention that so you know there's some intense psychology behind this image :) The image textures are from a "free textures" site on the web (please ignore my lazy displacement maps). The seagulls were created using the Sculpt script, the ocean is a large cube, and the landscape started out as a spline mesh.
Last Steps
View Full Size Scene not available

Poison Dart Frog Julian MacDonald (email)
Basic frog model was created in Wings3D, exported into AoI as an OBJ, converted to an approximating subdivision surface and further tweaked in the mesh editor. A fairly complex procedural 3D texture was created and applied. The stone in the foreground is a sphere converted to a triangle mesh, the points of which were randomised and tweaked and a true displacement image map was applied for the cracks. The background is a cube image-mapped with a landscape scene I created earlier in AoI. Depth of field is applied to focus the view on the frog.
Poison Dart Frog
View Full Size Download Scene

Perpetual Winter Julian MacDonald (email)
The penguins were modelled using the triangle mesh editor with textures mapped per vertex. The foreground mountains and the snow were triangle meshes, the latter mapped with true displacement mapping. The background mountains are just a 'cardboard cut-out' (filled curve object) and the mist/fog is a simple cube placed in front of the background mountains and with a fairly simple procedural material applied. Icicles started life as cone primitives but were converted to triangle meshes and the points randomised.
Perpetual Winter
View Full Size Download Scene

Apples Julian MacDonald (email)
On the face of it, a simple scene. Underneath, it's a bit more complicated: the apples are triangle meshes derived from spheres and are textured with a 2D procedural texture. The apple with a bite out of it had a layered texture consisting of the same apple texture used for the other apples and another 3D procedure texture representing the apple flesh. The bowl is a simple lathed object; the striped distortions were created purely through a procedural bump map. The tabletop is simply a cube; the coloured tiles are another (fairly complex) procedural texture.
Apples
View Full Size Download Scene

Still Life Nathan Ryan (email)
My first AoI render, but I spent a lot of time on it. The skull is an imported obj file that I got off the internet, but the rest is by me. Lots of interesting textures. Did cloth by randomizing points on a mesh and then stretching it out mostly in one direction. I've recently made some improvements with the grape textures and material and added a grape stem made with Forester.
Still Life
View Full Size Download Scene

Leash Nathan Ryan
The leash was made by extruding a rectangle along a curve with several rotations. The wood is a layered texture. Used a large contrast in lighting for the sunlight from the window versus the room lighting. Nice 3D procedural texture on the leash. Used a script to make the hairs in the brush.
Leash
View Full Size Download Scene

Battle School Julio Sangrador Patón (email)
This is part of the introductory animation of a game I am programming based on the book "Ender's Game". It makes a really easy exercise on using Art of Illusion. It is as simple as a donut, four cylinders and a sphere, all of them conveniently spiced up with the power of the texture editor.
Battle School
View Full Size Scene not available

Running to Battle Julio Sangrador Patón (email)
With this one I cheated. It is in fact two separate scenes: one for the location and one for the character. For the location, one of the "tricks" used is a VERY wide angle of the camera that let me show as much of the hallway as I wanted to, rendering the impression of a curved corridor, which it is in fact. The texture of the walls is a very interesting one, in wich I translated the cartesian coordinates to polar, and applied some scaling and blending to get those "tubes" (which are in fact part of the texture). Undoubtedly the most difficult part was the red alarm light. I wanted the small amount of reddish shadow on the ground under and around it, and had to play a lot with the parameters of the light until I found the right values. I rendered the character with a transparent background so that I could paste it into the corridor later, but of course it looked absolutely unnaturally perfect. No problem: I introduced the right amount of noise to the character, and besides some motion blur-all of these operations with an external bitmap editor of course, like The Gimp, for example. Pasting the astronaut into the corridor was the last operation and... voila!
Running to Battle
View Full Size Scene not available

Encounter Rick van der Meiden
Both the human face and the lego man were modelled with AOI. Note the very different nature of the hairs in the eyebrows and the eye-lashes: the eyebrows are made using a procedural material. The eye-lashes are tube objects.
Encounter
View Full Size Download Scene

Midnight, Time For Coffee Rick van der Meiden
Most interesting features: keyboard, created using the Array Tool. Monitor: The blue-ish light cast by the screen is cast by a point-light with a large radius. Using soft-shadows, a nice soft blue light envelopes the scene. Coffee Mug: This is actually my favorite mug. The vapour is an ellipsoid containing a procedural material. The material is created using a stretched noise pattern which detemermines the density of the material, and the swirly effect is created using a jitter transformation. Modelled and rendered with Art of Illusion version 0.9, soft-shadows and depth of field, 32 rays per pixel.
Midnight, Time For Coffee
View Full Size Scene not available

Plant Rick van der Meiden
A simple scene with a plant, showing off the soft-shadowing feature. The leaves are made by extruding a cross-section of a leaf along a curve, and then modifying the spline-mesh to create a tapering effect. Concentric circles of leaves are created using the array tool. Also, the original leaf has a skeleton. Modifying the skeleton of each copy is an easy way to give each leaf a unique appearance.
Plant
View Full Size Download Scene

Optical Illusion Carmen DiMichele
Here's an old optical illusion. It only uses interesting photography-no impossible geometry.
Optical Illusion
View Full Size Scene not available

Milkshake Julian MacDonald
This image came about through playing around with the materials editor and creating the 'froth' material that sits upon the 'milkshake'. The Doughnuts have a layered texture to add the sugar coating separately. Other objects are fairly straightforward. Final render has soft shadows, gloss/translucency and antialiasing on and took 2.5 hours to render (PIII 500 Mhz).
Milkshake
View Full Size Download Scene

Stationery Julian MacDonald
Just a little fun with some everyday objects. Probably the most interesting part of the scene is the use of texture parameters for the pencil. The pencil is a single mesh created by extruding a filled octagon. Once shaped into a pencil, a procedural 3D texture was created with 3 texture parameters to control the colour, the specularity (red and 'lead' parts shiny, wooden part not) and to add noise (only to the wooden part). The ink spill was a sphere converted to a mesh, flattened and shaped. Paperclips were created by extruding a smoothed filled polygon along a curve drawn in the shape of a paperclip
Stationery
View Full Size Download Scene

"Untitled" Peter Eastman
This was the first "real" image I ever created with Art of Illusion (version 0.3!), by which I mean an image created for its own sake, not just to test out some feature of the program. It's a very simple scene and AoI has come a long way since then, but I'm still pleased with how well it came out. I think it's the soft shadows and glossy reflections which really make the image. Notice that I've used the same image map both to color the tabletop and to modulate the sharpness of the reflections, which adds a lot to the realism of the scene.
"Untitled"
View Full Size Scene not available